*We’re committed to transparency. Products marked with an asterisk were given to us to try by the brand. As always, all thoughts expressed on Rouge18 are our honest opinions.
About the Collection & Inspo for My Mani
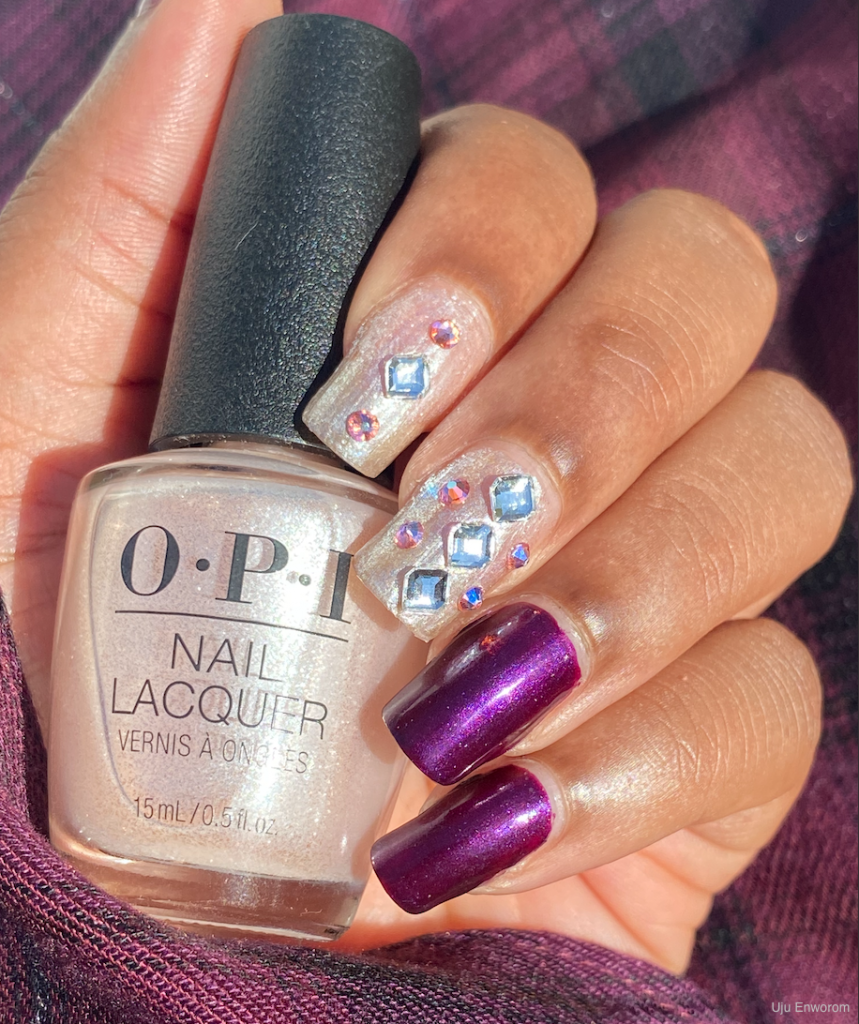
This week’s mani is inspired by the new OPI Shine Bright Collection, a holiday collection designed in collaboration with Swarovski Crystals. This limited edition holiday collection features 15 shades, including three special glitter hues. All of the shades are available in GelColor, Infinite Shine, and Nail Lacquer formulas. The collection is currently available on Ulta.com and OPI.com
What You’ll Need
To create this look I used:
2. OPI Nail Lacquer in ‘Let’s Take An Elfie’ and ‘Naughty or Ice’*
3. OPI Nail Art Kit with Dazzling Swarovski Crystals*
Tutorial
Step 1: Apply ORLY Bonder Base Coat to all nails to protect your natural nail and extend the wear of your manicure.
Step 2: Apply OPI Nail Lacquer in ‘Let’s Take An Elfie’* to the nails on your thumb, ring, and pinky fingers.
Step 3: Apply OPI Nail Lacquer in ‘Naughty or Ice’* to the nails on your index and middle fingers.
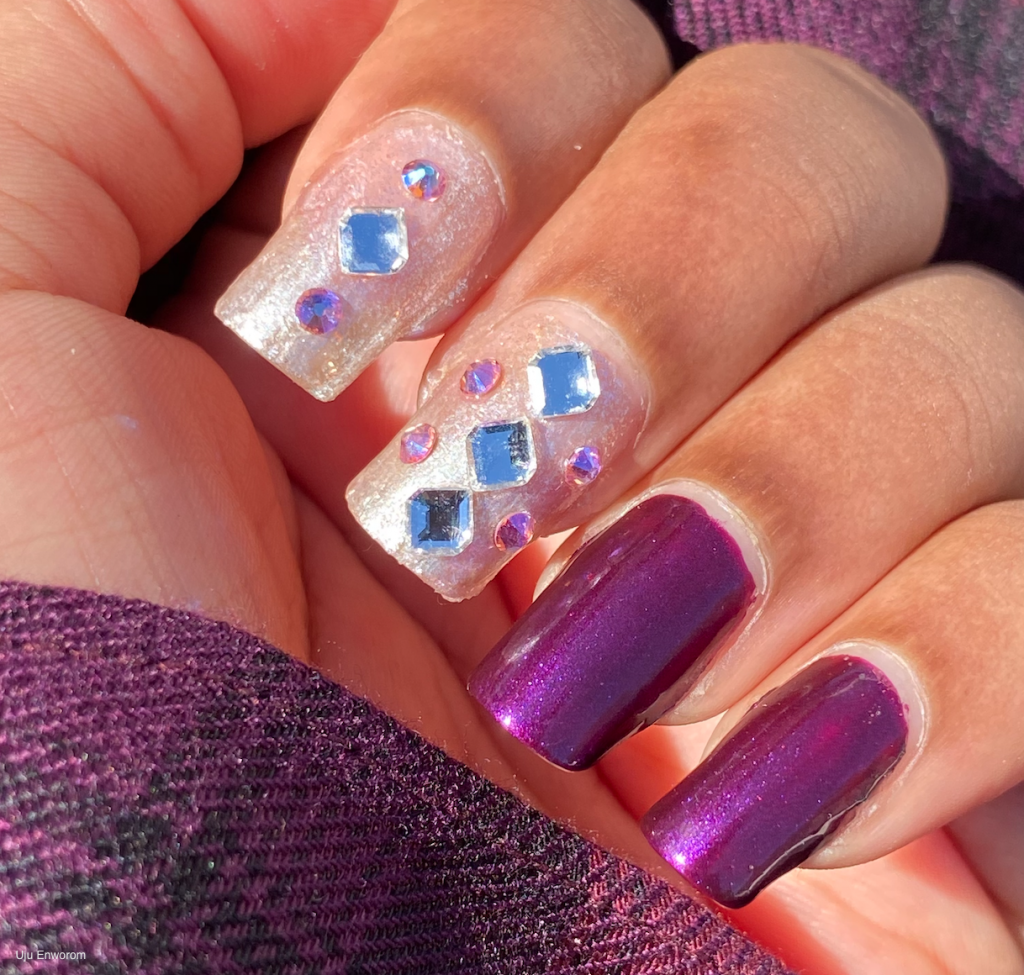
Step 4: On the index finger, place a Swarovski Concise Hexagon Flat back in Crystal on the center of the nail, and place one Swarovski Flat Back Stones in Light Rose Shimmer above the hexagon and one below. Use nail glue or top coat to adhere the crystals to the nail.
Step 5: On the middle finger, place three Swarovski Concise Hexagon Flat backs in Crystal vertically down the center of the nail. Place two Swarovski Flat Back Stones in Light Rose Shimmer on either side of the row of hexagon flat back crystals. Use nail glue or top coat to adhere the crystals to the nail.
Step 6: Apply ORLY Glosser Top Coat* to the nails on your thumb, ring, and pinky fingers.
Final Look

Can’t get enough? Check out more Rouge18 nail stories here!


