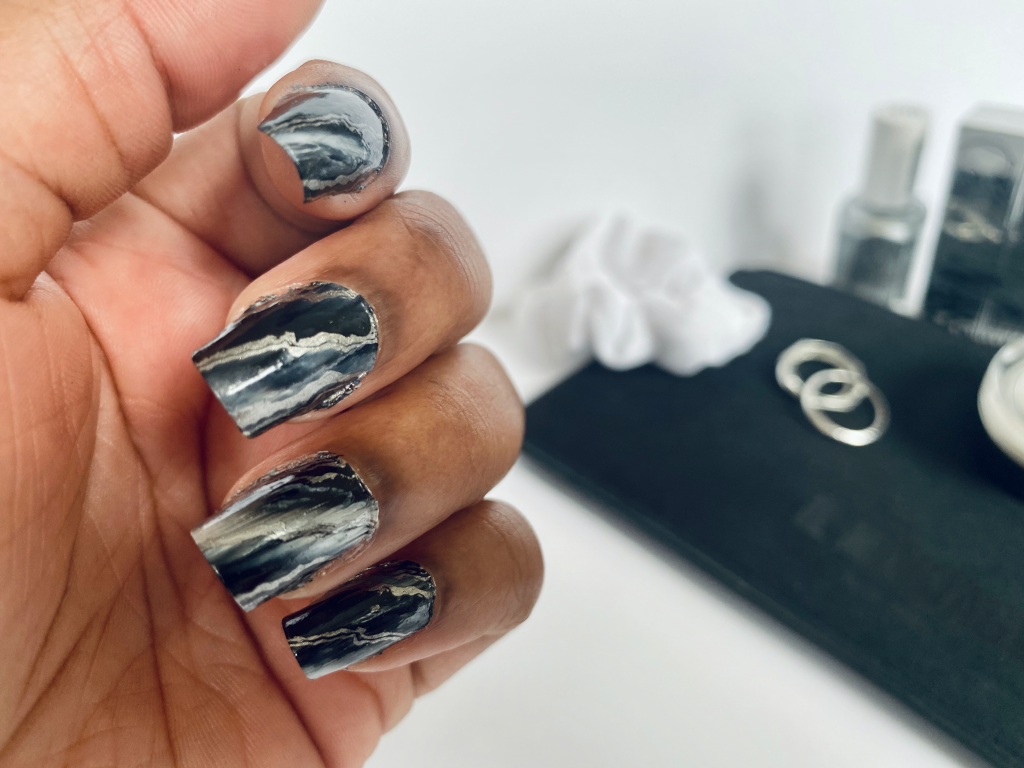
Nail care in quarantine can be a struggle if you’re used to going to a salon. I love to do my nails myself and I love doing ornate designs; but I don’t want to deal with drawing deigns free hand. Enter: Nail Stamping.
What Is Nail Stamping?
Nail stamping at its most basic level involves applying nail polish to a stamping plate (a metal plate with etched designs), scraping off the excess, transferring the design onto a stamper (a soft device that picks up the image when you press down on it), and applying the design to your nail. This may sound like a lot of steps, but it all happens in a matter of seconds. Plus, we have video tutorials for you later in this post.
So long as you can do these steps, you’ll get amazingly precise designs without having to worry about a steady hand for free hand drawing. If you have a design you want, there’s almost certainly a stamping plate out there that has it. The possibilities are endless and the results are stunning!
What You’ll Need
At the most basic level, you’ll need:
1. Stamping Plate – Metal plate with etched designs. My favorite plate brands are: MoYou London, Maniology, Clear Jelly Stamper, Born Pretty/ Nicole Diary, and UberChic.
2. Nail Polish – There is special stamping polish. You can use normal polish to stamp but it often won’t be as opaque as stamping polish. My favorite stamping polish brands are TwinkledT and Clear Jelly Stamper.
3. Stamper – There are several types of stampers. My preference is a clear jelly stamper; it is transparent so you can see where on your nail you are placing the design. My favorite stampers are from: Maniology, Clear Jelly Stamper, Kiss, and Pueen.
4. Scraper – This is a plastic card you use to scrape the excess polish off of the stamping plate. Most stampers come with a scraper included. You can also use an old credit card.
5. Acetone & Cotton Balls/Rounds – You’ll need to wipe your stamping plate and scraper clean after each stamp. Simply wipe the plate with cotton soaked in acetone.
6. Lint Roller or Tape – If you use a clear jelly stamper, cleaning it with acetone will ruin the stamper. Instead press a lint roller or piece of tape to the stamper head to remove any excess polish.
For more advanced stamping, you’ll also want:
1. Liquid Latex – This is exactly what it sounds like. Liquid latex applies liquid and dries to a latex finish. You paint the liquid latex around the perimeter of your cuticles and nails to prevent polish or stamps from getting on your skin. After you are done with your nails, you simply peel the liquid latex off. My favorite liquid latex is the Pueen Latex Tape Peel Off Cuticle Guard.
2. Tweezers – You can remove liquid latex with tweezers, an orange stick, or with your fingers. When you have painted nails, I find a tweezer is easiest.
3. Cotton Grabber or Pincher Tweezers – You need to clean your plate after each use with acetone. If you don’t want to handle an acetone-soaked cotton pad with your hands for fear it will ruin your polish, you’ll want a cotton grabber or pincher tweezers. You press a cotton grabber or pincher tweezer to open the clasp, grab onto a cotton ball, then let go. It will keep the cotton ball in its grasp without you having to constantly hold the tweezers closed (this is the difference between pincher and regular tweezers).
4. Dotting Tool – For reverse stamping (see below), it’s easiest to apply polish to the stamper with a dotting tool to avoid applying too much pressure to the design.
5. Nail Art Brush – You can also use a nail art brush instead of a dotting tool for reverse stamping.
6. Sticky Base Coat – When reverse stamping, you use a sticky base coat as a base for the dry decal / reverse stamp to adhere to the nail. My favorite is the Maniology Sticky Base Coat.
7. Smudge Free Top Coat – Nail stamping is notorious for smudging if you aren’t careful applying your top coat. You can use normal top coat over stamping, you just have to be careful and “float” the top coat (apply a generous amount while barely touching the nail). Alternatively, you can use a smudge free top coat first, then apply a normal top coat over it and no longer have to worry about the normal top coat smudging your design. My favorite smudge free top coat is the MoYou London Smudge Resistant Premium Top Coat.

Beginner: How To Nail Stamp
Normal nail stamping is when you apply the image to your nails just as it appears on the plate. It typically only involves one color, but you can mix nail polish on the plate to create an ombre.
All in all, normal nail stamping involves 5 basic steps:
1. Optional: Paint your nail with your base color. Let it dry completely. Note: this step is optional because you can do negative space nails and just stamp over a clear base coat.
2. Apply stamping polish to the stamping plate to cover the image you wish to stamp onto your nail.
3. Use your scraper to lightly remove the excess stamping polish. Try to only scrape once.
4. Roll or press your stamper onto the image on the plate. The stamper will pick up the polish that is left in the etched design.
5. Apply the design onto your nail by either pressing the stamper onto the nail or rolling the stamper onto the nail.
Note: make sure you work quickly through these steps, especially steps 2-4. If the polish dries on the plate, you won’t be able to pick it up with your stamper. Always clean your plate after each use.
Here’s a video demonstrating normal stamping.
Products used: Nails.INC NailKale Superfood Base Coat, Confetti Long Wearing Nail Color “017 Dance Party Pink”, Nicole Diary L-17 Stamping Plate, TwinkledT Stamping Polish in “Glow Up”, Maniology Ice Cube Clear Rectangular Stamper w/ Scraper Card, MoYou London Smudge Resistant Premium Top Coat, Nails.INC 45 Second Retinol Top Coat.
Advanced: How To Reverse Stamp
Reverse stamping is an advanced stamping technique that takes your manicure to a whole new level. I almost exclusively reverse stamp. Reverse stamping involves doing steps 1-4 from the normal stamping instructions above then using polish (you can use regular polish here) to fill in the design on the stamper. Then you transfer the design to the nail.
All in all, normal reverse stamping involves 8 steps:
1. Optional: Paint your nail with your base color. Let it dry completely. Note: this step is optional because you can do negative space nails and just stamp over a clear base coat.
2. Apply stamping polish to the stamping plate to cover the image you wish to stamp onto your nail.
3. Use your scraper to lightly remove the excess stamping polish. Try to only scrape once.
4. Roll or press your stamper onto the image on the plate. The stamper will pick up the polish that is left in the etched design.
5. Using a doting tool or small nail art brush, fill in the design with polish (you can use regular polish here). Be sure to apply light pressure, as you don’t want to disturb the image. You don’t have to be too precise here. The beauty is that you are coloring the underside of the stamp, so if you go over some lines (so long as they aren’t the lines on the edge of the design) no one will know.
6. Let the design dry.
7. Apply a stick base coat over your nail (you can apply this base coat over the base nail polish) and wait for it to become tacky.
8. Apply the design onto your nail by pressing the stamper onto the nail.
Here’s a video demonstrating reverse stamping.
Products used: Nails.INC NailKale Superfood Base Coat, Essie Treat Love & Color 15 “Minimally Modest”, Cirque Colors “Pink Lemonade”, ILNP Iridescent Flakie Topper in “Up Top”, Sinful Colors “944 Innocent”, Maniology Sticky Base Coat, Nicole Diary L-17 Stamping Plate, TwinkledT Stamping Polish in “Glow Up”, Maniology Ice Cube Clear Rectangular Stamper w/ Scraper Card, MoYou London Smudge Resistant Premium Top Coat, Nails.INC 45 Second Retinol Top Coat.
Can’t get enough? Check out more Rouge18 nail stories here!


